Introduction
The Template Editor lets you visually create a website for a Light Data Room. Combine text, images, videos, and other content to create an interactive presentation, such as a mandate. You may make use of Aversure’s visual template or create your own templates that match your visual identity.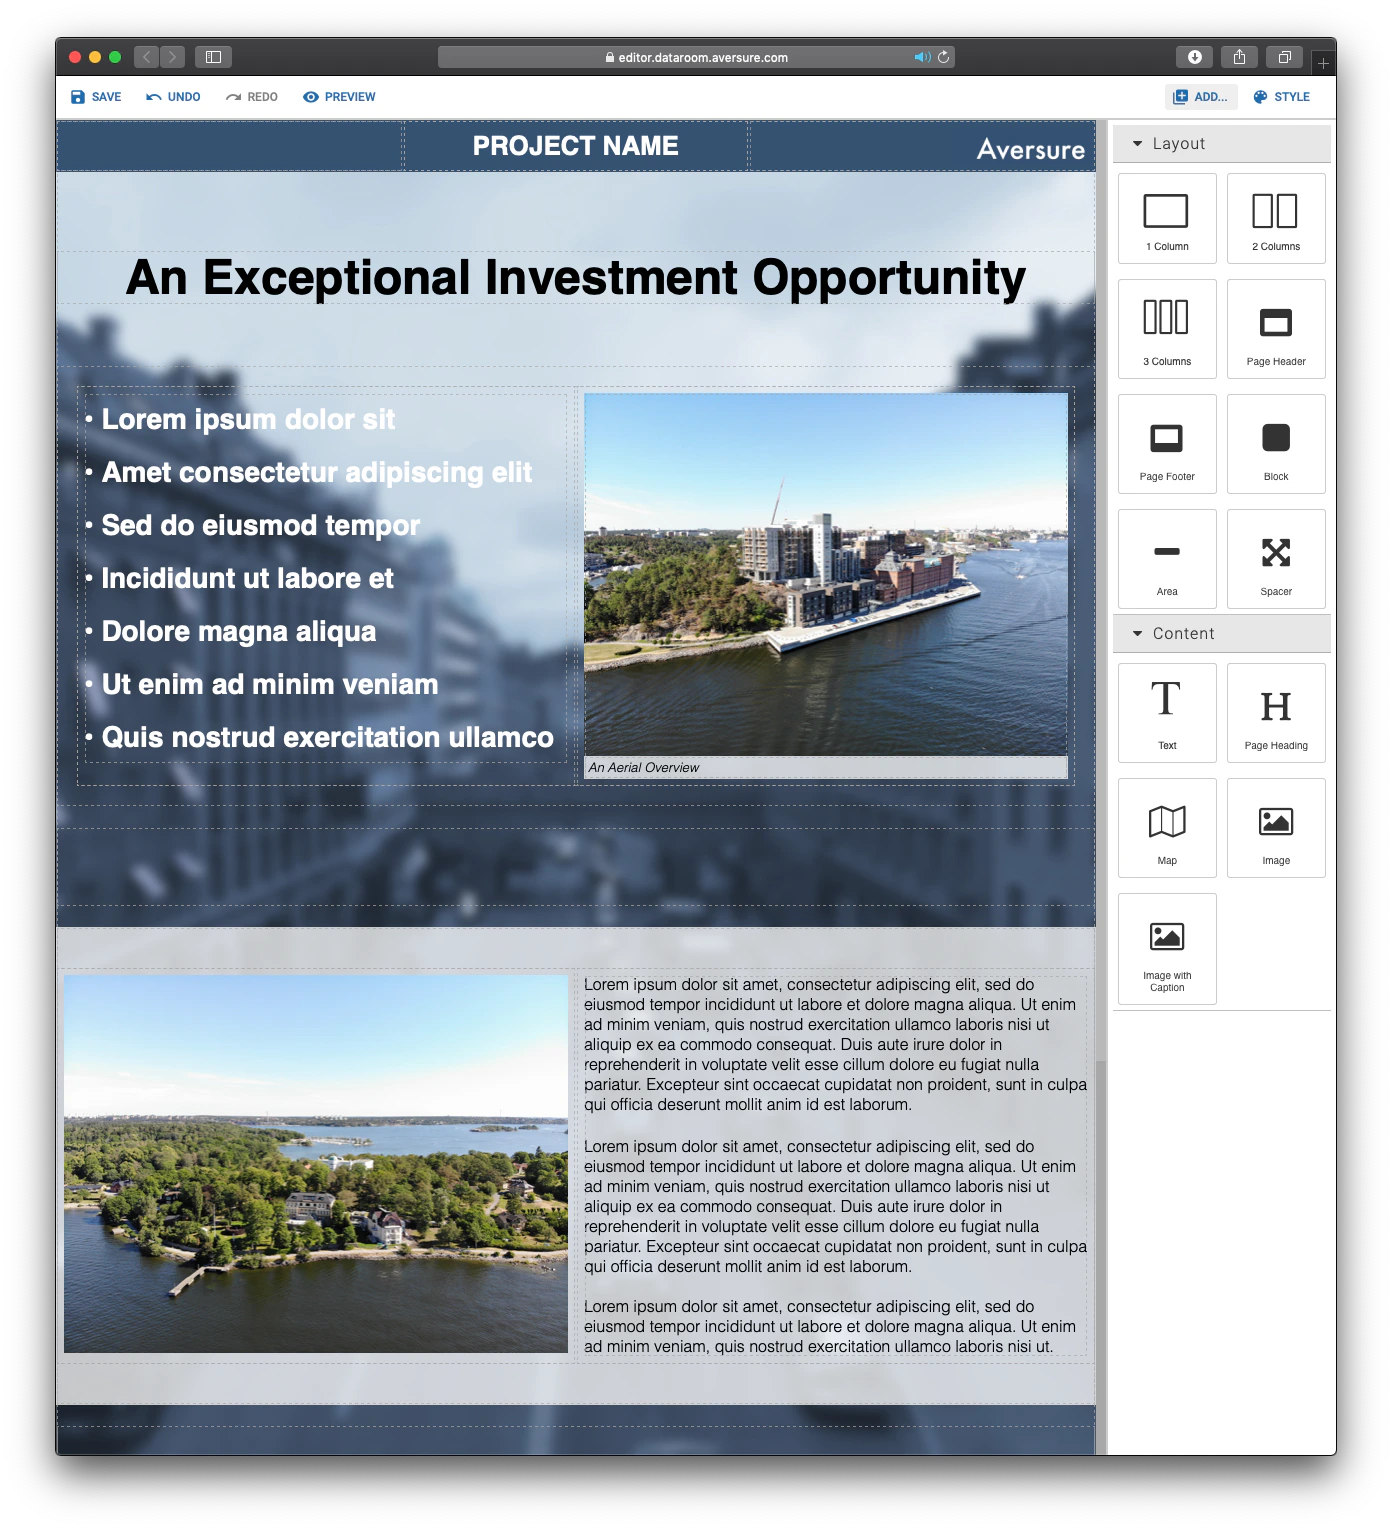
Enabling the Template Editor
The Template Editor can only be enabled for Light Data Rooms and must be enabled by an administrator of the data room.- Create the Light Data Room (if not already created).
- Access the data room for which you would like to enable the Template Editor.
- Click on the button Template Editor above the list of folders and files in the main folder.
- Choose between one or more starting templates as well as an empty template.
- Click on Activate.
Overview
The Template Editor has been created to make it easy to create custom landing pages without any coding experience.The Template Editor can only be used to create a single-page website (it may link to supporting documents and files though).
- Save: Saves your progress in the Template Editor and automatically publishes the saved version
- Undo: Undoes the previous edit operation
- Redo: Redoes the previously undone edit operation
- Preview: Shows how the website will look to users. Click the eye icon in the top left corner to return from the preview to the Template Editor
 To build your website, use the two main menus to the right called Add and Style. The Add menu contains all the elements to build the layout and content of the website. The Style menu allows you to change the look and feel of the elements of the website (including color, transparency, shading, margins, etc.).
Selecting, moving, copying and deleting elements
When you click on an element in the website, the following icons appear.
- Up arrow: Selects the parent element of the current element. Helpful to use if it is hard to select an element
- Cross: The cross allows you to move the element around the website. Click and hold, then drag the element to where you want to move it, and release
- Two squares: Duplicates the element. The duplicated element may then be dragged to another portion of the website (as desired)
- Trash bin: Deletes the selected element
Adding layout elements
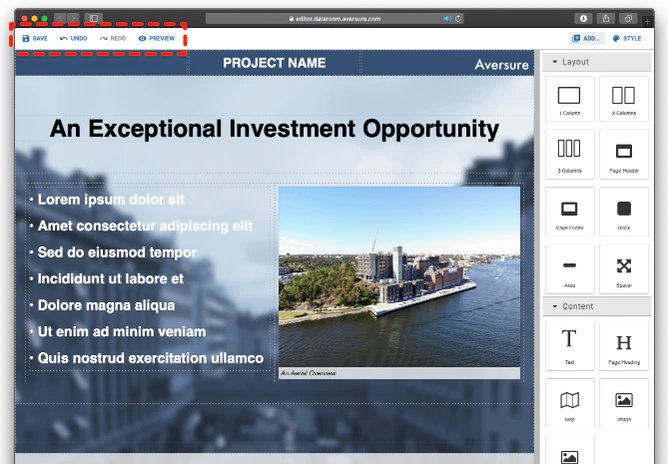
Click on the Add menu to display the elements that can be added to the website, as shown below. In order to add an element to the website, drag it from the Add menu to where you would like to place it in the website. You may add elements directly to the website as well as inside other elements, e.g. a text element inside a column. In order to structure the content and to get appropriate margins for the website on both desktop and mobile devices, we recommend that the predefined columns are used to structure the content.
- Columns: Columns allow you to structure content of the website. You may add 1, 2 or 3 columns on a row
- Page Header and Page Footer: Pre-made header and footer with 3 columns. They should only be added to the top or the bottom of the website respectively
- Block: An element with a shaded background that may be used to separate sections of the website. Can be added directly to the website or inside a column. Columns may also be added inside the block
- Area: Similar to the block but makes use of the full width of the page. Content should not be added directly to the area but rather to columns that have been added inside the area
- Spacer: Adds vertical spacing between sections of the website
Adding text and headings
- Drag and drop the Text or the Page Heading element to the website from the Add > Content menu.
- Enter the text box by double clicking on the text in the box.
- Type in the text that you would like to display.
- A menu will appear that allows you to change the font, text size, add bullet points, lists, etc.

Changing the text alignment
- Click on the text box to select it.
-
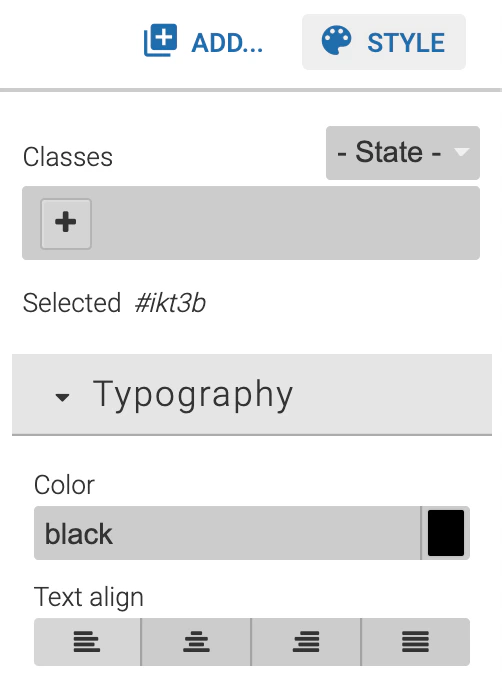
In the menu, under Style > Typography (as displayed below), update the Text alignment.
Changing the text color and transparency of the whole text box
- Click on the text box to select it.
- In the menu, under Style > Typography, click on the color box on the right-hand side under the subsection Color.
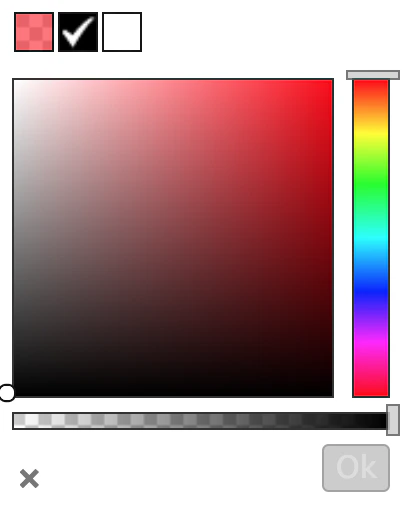
- A color diagram appears as shown below, where you can select the color on the vertical menu on the right, and the transparency on the horizontal menu at the bottom. Select the desired color and transparency.
- Click on Ok.
Changing the color of a portion of the text
- Enter the text box by double clicking on the text in the box.
- Highlight the portion of the text for which the color should be changed.
- Click on the text color icon in the menu that appears.

- Select the color you would like or enter a custom color by clicking on More colors and entering the hex code of the desired color.
Adding links
Links to external websites
- Enter the text box where you would like to create the link.
- Highlight the text that you wish to link to an external website.
- Click on the link button in the menu that appears.

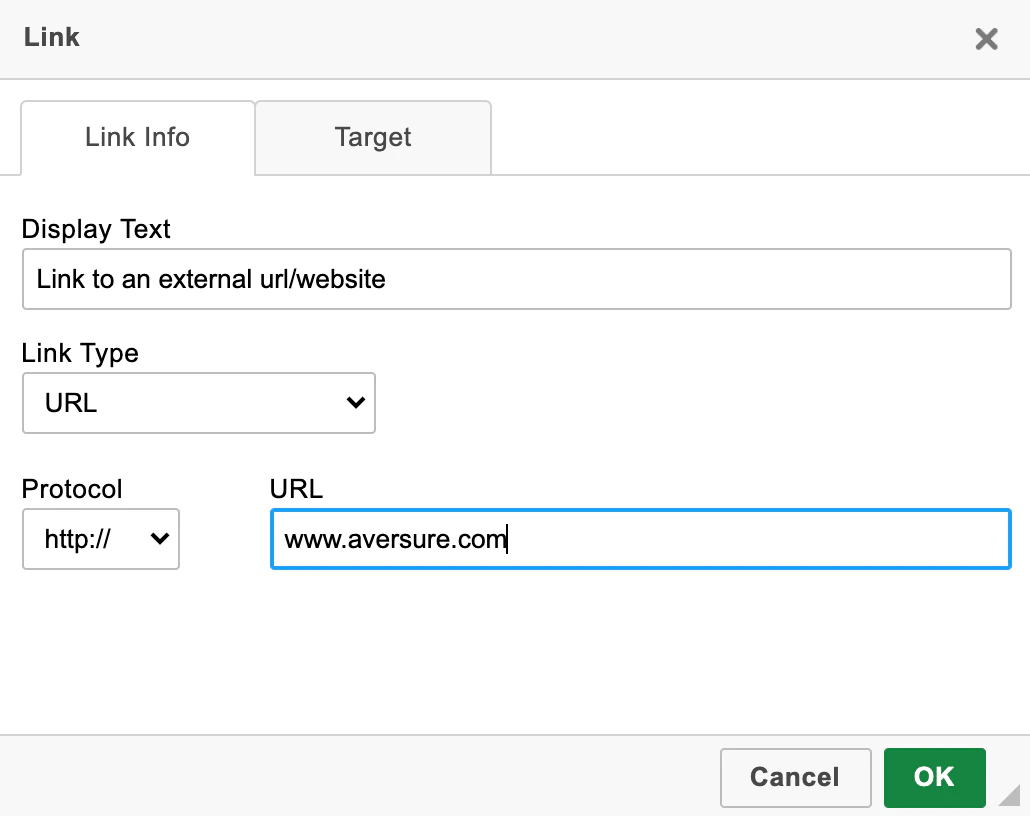
- Enter the URL you would like to link to in the URL box as shown in the image below.
- Click on Ok. The link has now been created and the highlighted text has been transformed into a link.
Links to files
- Upload the file that you want to link to in the light data room.
-
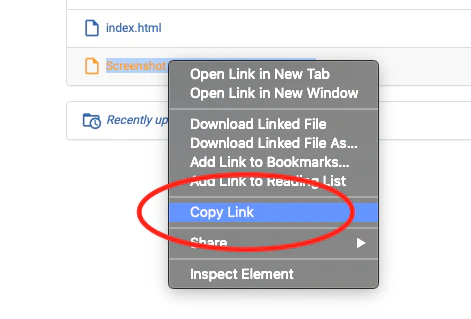
Go into the light data room, right click on the file and then click on Copy Link (or similar).
-
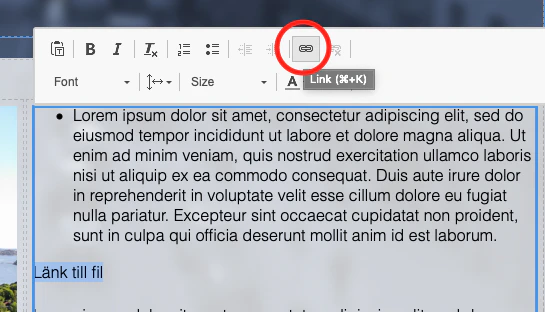
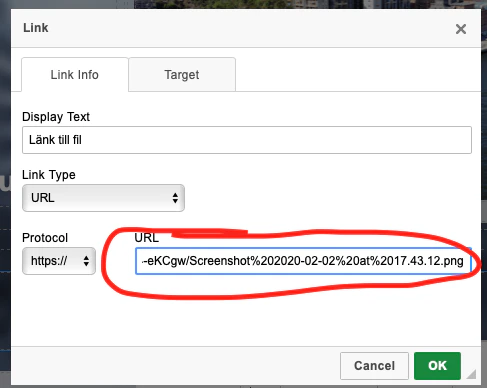
Change tab to the template editor and mark the text that you would like to link to the file. Click on the link-button in the menu.
-
Paste the copied link in the field URL.
-
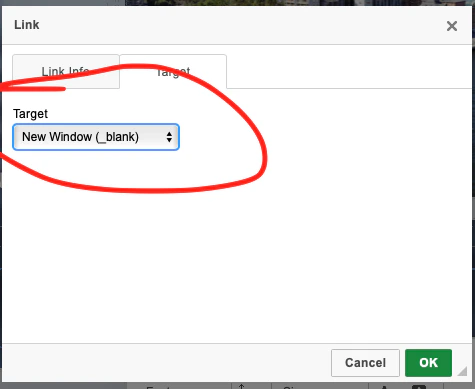
On the tab Target, choose New window as target if you would like the file to open in a new tab or a new browser window.
- Click on Ok to confirm.
Adding interactive maps
- Go to Add > Content and drag the Map icon into the desired position in the website.
-
Click on the Map in the template editor. Go to the Style menu and scroll down to the bottom where the field Address can be found. Type in the street address together with the city and country.
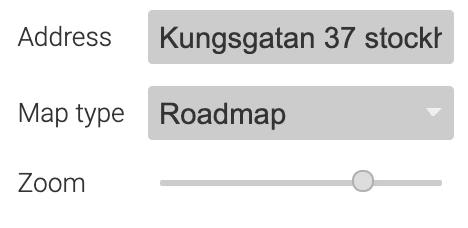
- You can select the Map type as a normal Roadmap or as a Satellite map.
- To adjust the zoom level of the map, adjust the Zoom to an appropriate level.
Adding images
- Go to Add > Content and drag the Image icon into the desired position in the website.
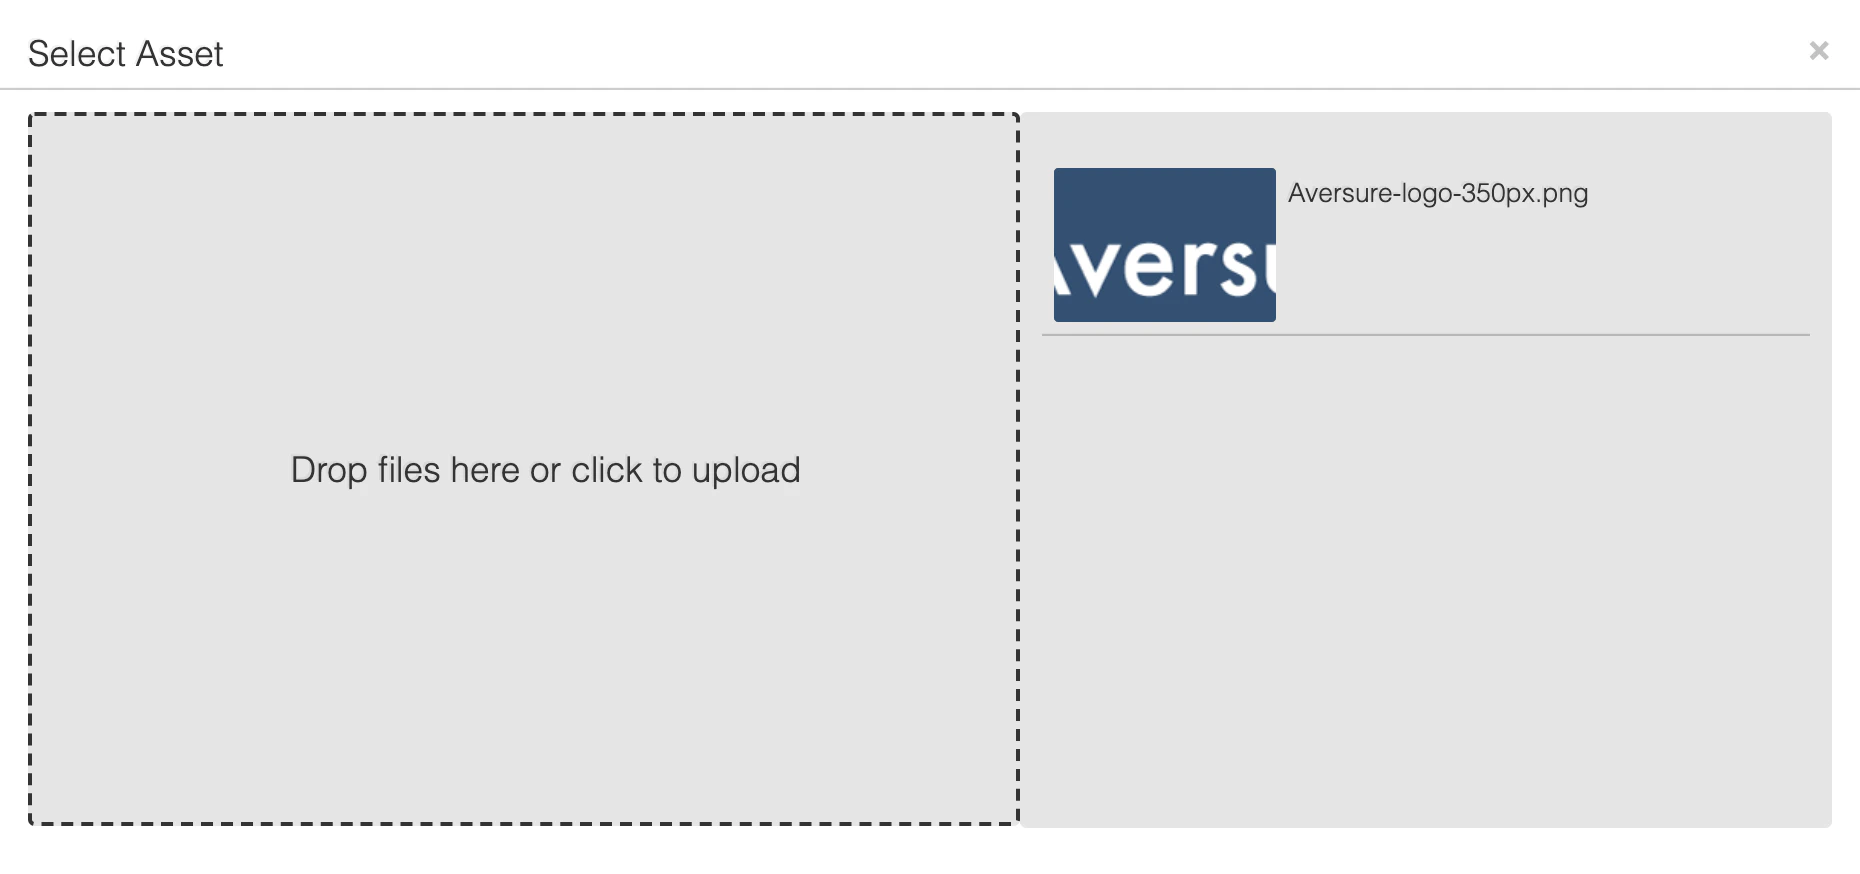
- A dialog will appear where you can choose from the list of files you have previously uploaded to the Assets folder. You can also upload a new file from your computer by dragging it into the corresponding area. If a new file is added, it will appear in the list on the right side (and will be located in the Assets folder in the light data room).
- Click on the image on the right side to select it.
- Click on the X at the top right corner to close the dialog.
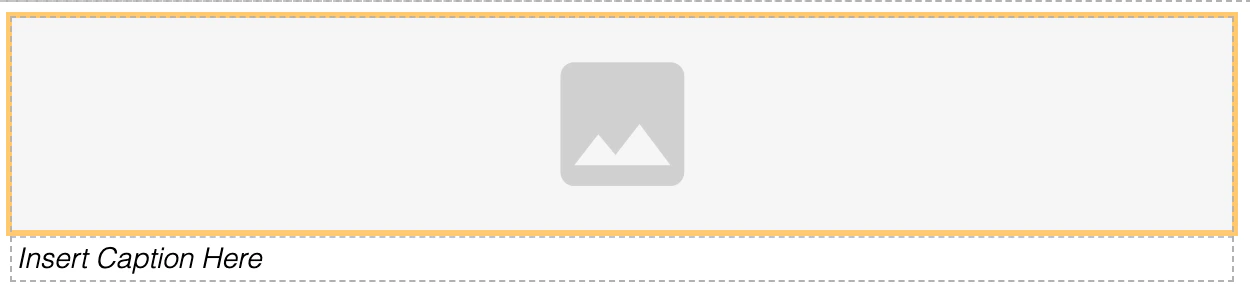
Adding an image with caption
-
Go to Add > Content and drag the Image with Caption icon into the desired position in the website.
- Double-click on the image icon that you just added to the template editor.
-
A dialog will appear where you can choose from the list of files you have previously uploaded to the Assets folder. You can also upload a new file from your computer by dragging it into the corresponding area. If a new file is added, it will appear in the list on the right side (and will be located in the Assets folder in the light data room).

- Click on the image on the right side to select it.
- Click on the X at the top right corner to close the dialog.
- Double click in the text field Insert Caption Here to replace the placeholder text with your own caption.
Adding videos
Adding your own video to the website
- Go to Add > Content and drag the Video icon into the desired position in the website.

- A dialog will appear where you can choose from the list of files you have previously uploaded to the Assets folder. You can also upload a new file from your computer by dragging it into the corresponding area. If a new file is added, it will appear in the list on the right side (and will be located in the Assets folder in the light data room).
The file you select must support playback in web browsers (e.g. mp4). Most web browsers cannot play common formats such as avi and mov. Files in such formats will need to be transcoded before being uploaded.Keep the size of your video file small in order to ensure smooth playback for your users. This corresponds to an approx. maximum file size of 500 kB per second of video.
- Click on the video on the right side to select it.
- Click on the X at the top right corner to close the dialog.
Adding a Youtube or Vimeo video to the website
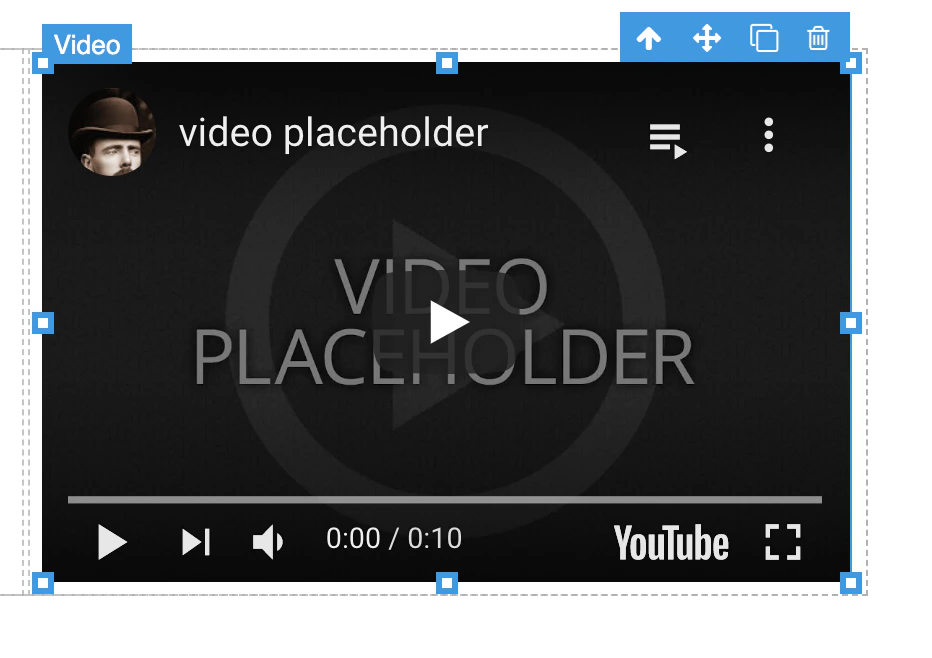
- Go to Add > Content and drag the Video icon into the desired position in the website.
- Click on the X at the top right corner of the dialog that appears.
- Select the video element in the website, as shown below.
- Go to the Style menu and scroll down to the bottom.
- Click on the dropdown menu next to the field Provider and select Youtube or Vimeo.
- Youtube: Enter the ID of the video in the Video ID field. The ID of the video is the last part of the link. For example, if the link is https://www.youtube.com/watch?v=NpEaa2P7qZI, then the video ID is NpEaa2P7qZI.
- Vimeo: Enter the ID of the video in the Video ID field. The ID of the video is the last part of the link. For example, if the link is https://vimeo.com/113716040, then the video ID is 113716040.
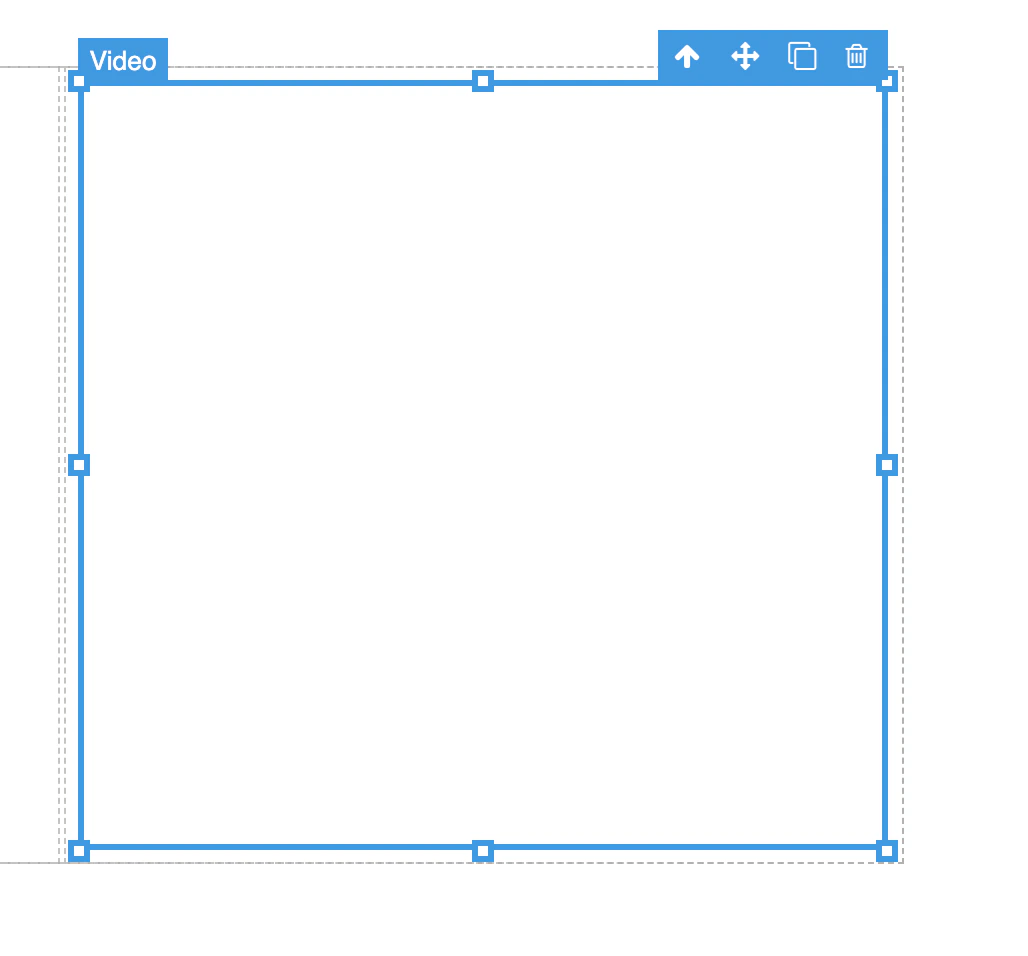
Adjusting video playback settings
- Select the video in the website template and click on the Style menu.
- Check the Autoplay checkbox if the video should start playing automatically when a visitor enters the website (not supported by all browsers).
- Check the Loop checkbox if the video should loop continuously.
- The video element may be resized by dragging the resize handles, as shown below.
Adding file lists
- Add the files you would like to display on the website in a new folder in the light data room (e.g. called supplements).
- Go to Add > Content and drag the File list icon to the desired position in the website.
- Click on the file list element and open the Style menu. Scroll to the bottom, to the field Folder path. Type in the name of the folder (path) in the light data room for which you would like to list the files (e.g. supplements).
- You can change the text color by clicking on the colored box next to the field Text color.
- You can adjust the size of the text through the Font size field.
- You may resize the file list element to fit the number of files in the folder.
- The files in this folder in the data room will now be listed and can be viewed by visitors to the website.
Adding iframes
An Iframe can be used to embed other content in the website which is not directly supported by the template editor (e.g. 3D objects, virtual walkthroughs etc.).- Go to Add > Content and drag the Iframe icon into the desired position in the website.
- Click on the Iframe element.
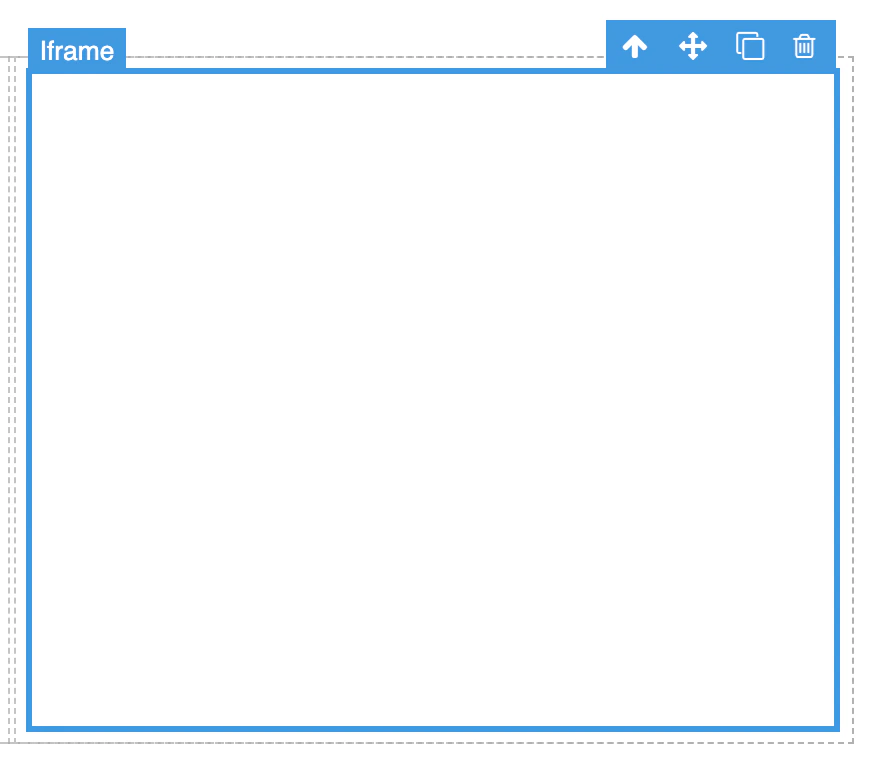
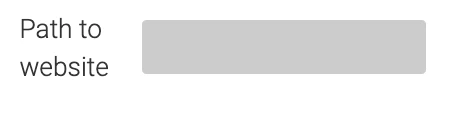
- Enter the Style menu and scroll down to the bottom. Enter the URL for the website to be embedded in the Iframe in the Path to Website field.
Adding tables
- Go to Add > Tables and drag the Table icon into the desired position in the website. This adds a basic table with two columns and two rows.
- To edit the text, double click on the placeholder text.
Adding columns to the table
- To add columns to the table, click on one of the cells in the top row. Make sure the cell itself is selected and not the text area. If the text area is selected, you can click on the up arrow icon to select one area higher in the hierarchy (which is the cell).
- Hold down the
Shiftbutton and select the other cell in the same column, as shown below.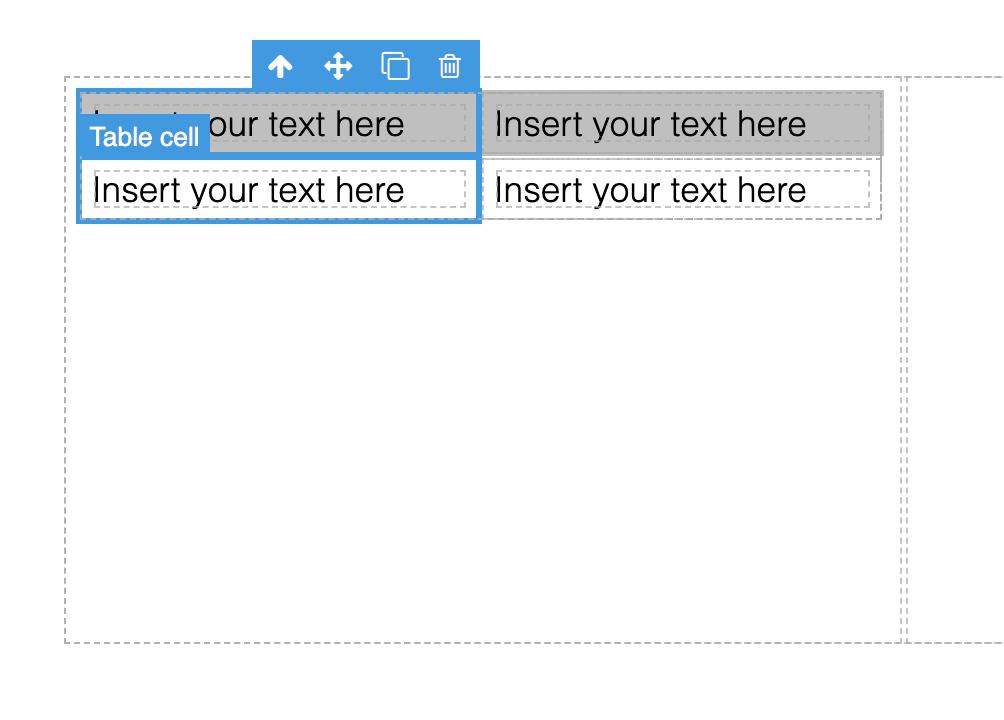
- Click on the double square (duplicate) icon to add another column. This operation can be repeated multiple times until the desired number of columns have been created.
Adding rows to the table through drag & drop
- Go to Add > Tables and drag the Table row icon into the table. It is also possible to add new cells through dragging & dropping the Table cell icon in a similar way.
Adding rows to the table through duplication
- Table rows may also be added through duplication which may be faster, especially if you would like to add many rows.
- Click on one of the cells in the row you would like to duplicate. Make sure the cell itself is selected and not the text area. If the text area is selected, you can click on the up arrow icon to select one area higher in the hierarchy.
- Click the up arrow icon in order to select the row.
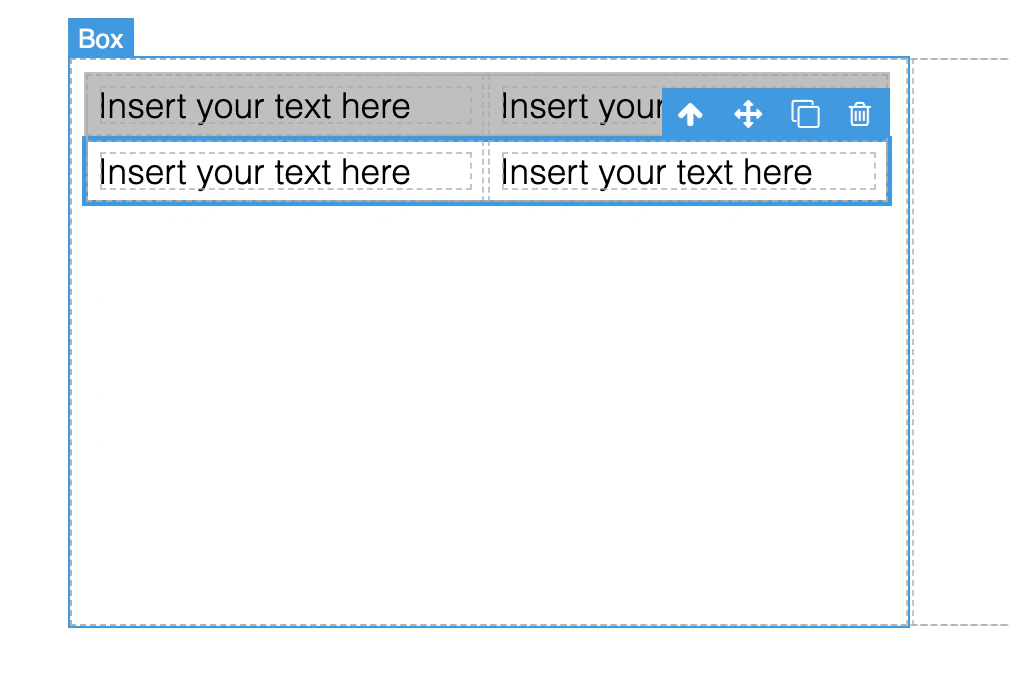
- Click on the double square (duplicate) icon to duplicate the row. This operation can be repeated multiple times until the desired number of rows have been created.
Styling the website
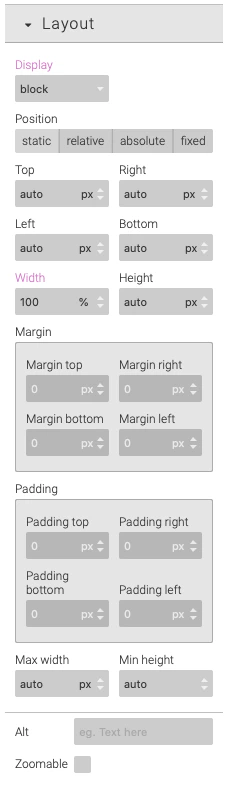
Multiple options for styling the elements of the website are available on the Style menu. The options will differ depending on the type of element selected with most types of elements supporting options such as background color, border, text alignment, margins, size, maximum width/height etc.
Publishing the website
Click on the Save button in the Template Editor to save the website. This automatically publishes the website and any changes are immediately visible to the users that you have invited to the light data room.Viewing statistics on website visitors
You can easily see who has visited your website in the statistics section. Please see the instructions on viewing statistics.Creating a custom starting template
You can create a custom template that can serve as a starting point for your next website.- Create the template by creating a new light data room, activating the Template Editor and adding content placeholders and styling the website so that it can serve as a template.
- Email Aversure Support at support@aversure.com to have us activate the template for your organization.