Moving files and folders
This feature is only available in Standard Data Rooms.
- Select a folder or a file and drag it to the folder you would like to move it to.
- Click on the Move button in the dialog box that appears.

Copying files and folders
Copying files and folders is restricted to data room administrators. To copy between data rooms, you must be an administrator of both the source and the destination data room.
- Folders copied within a data room — user rights set on the folder (and on its subfolders) are copied along with it.
- Folders copied between data rooms — user rights are not copied; the copied folder inherits the rights of the destination folder.
- Files (in either case) — take on the rights of the destination folder, since user rights are set on folders, not on files.
Within a Standard Data Room
- Select a folder or a file and drag it to the folder you would like to copy it to.
- Click on the Copy button in the dialog box that appears.
When both moving and copying are available for the same drag, the dialog is titled Move or copy and shows both a Move and a Copy button. Click Copy to copy the files or folders.
Within a Light Data Room
Copying is only available when dragging between two separate browser windows or tabs of the data room. Within a single window the drag gesture is not used for copying.Between Data Rooms
To copy files or folders from one data room to another, open the two data rooms in two separate browser windows or tabs and drag from one to the other. Click on the Copy button in the dialog box that appears.Editing file/folder names and indexes
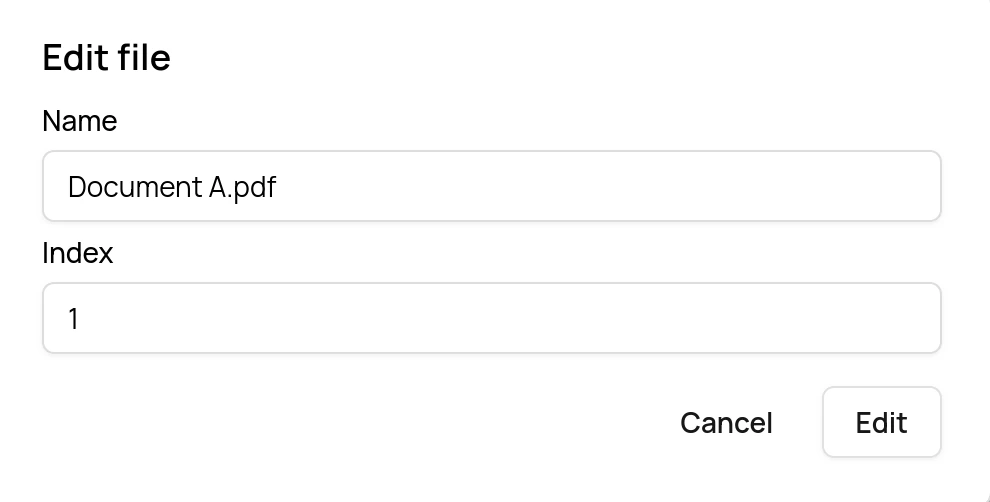
Standard Data Rooms
- Select a file or folder.
- Click on the Edit button in the top menu.
- Edit the name and/or the index in the dialog box that appears.
- Click the Edit button in the dialog box.
If a user does not have write privileges for the folder, the Edit button will not appear.
Light Data Rooms
-
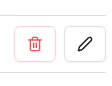
Click on the button with a pencil that is shown when hovering over a file or folder.
- Edit the name and click on the Rename button to confirm.
Deleting files or folders
Standard Data Rooms
- Select a folder or one or more files.
- Click on the Delete button in the top menu.
- Confirm the deletion in the dialog box that appears.
Light Data Rooms
-
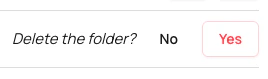
Click on the button with a trash can that is shown when hovering over a file or folder.
-
Confirm the deletion by clicking on the Yes button.
Restoring deleted files or folders
This feature is only available in Standard Data Rooms. It requires data room administrator rights.
Viewing deleted items
- Click the Settings button in the top menu.
- Tick the Show deleted files and folders checkbox.
While deleted items are shown, drag-and-drop reordering is disabled.
Restoring items
- Make sure deleted items are visible (see above).
- Click the name of a deleted file or folder.
- Confirm the restore in the dialog that appears.