Adding users
- In the Administration Interface, go to the User Rights page.
- Select the Data room in the drop-down box in the header.
- Select the User group in the next drop-down box.
- Click on the Add users button.
-
Enter the email addresses of one or more users (separated on individual rows) and click the Invite button.
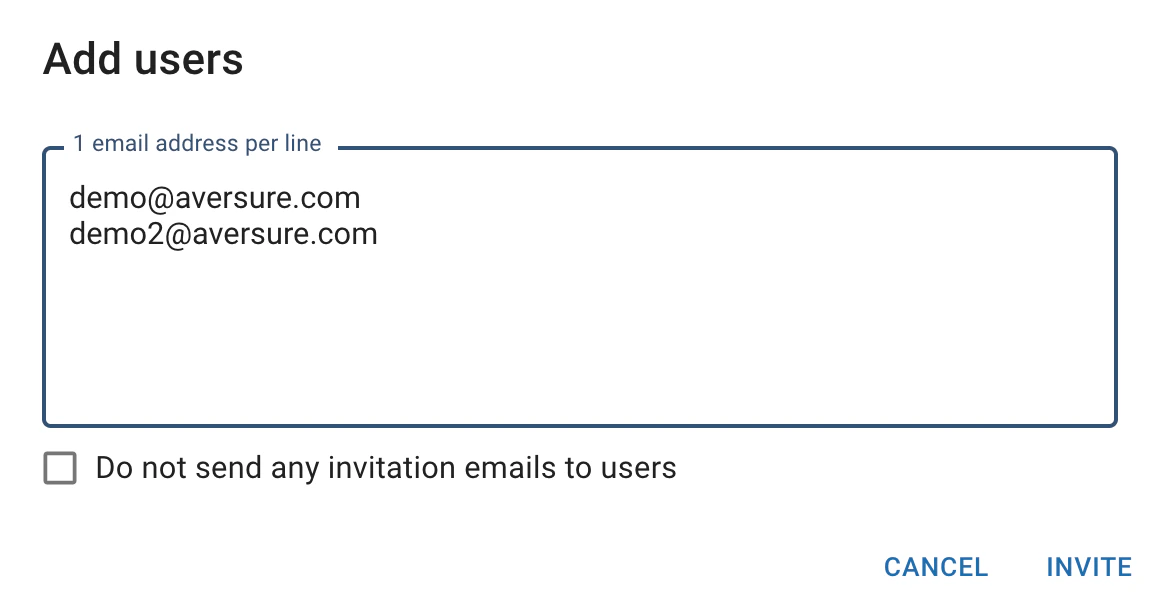
- The Service will send an invitation email to the users. If they do not have a user account, the email will include a link to create an account.
To move users between user groups (e.g. to restrict their access to some information in a data room), just invite them to the new group. They are automatically removed from the old group. If you don’t want to send an invitation email to the users, tick the Do not send any invitation emails to users checkbox.
Removing users
- In the Administration Interface, go to the User Rights page.
- Select the Data room in the drop-down box in the header.
- Select the User group in the next drop-down box.
-
Click the Remove button next to the user that you would like to remove.

Adding user groups
- In the Administration Interface, go to the User Rights page.
- Select the Data room in the drop-down box in the header.
- Click on the Add group button.
-
Enter the name of the new user group and confirm the creation in the dialog that appears.
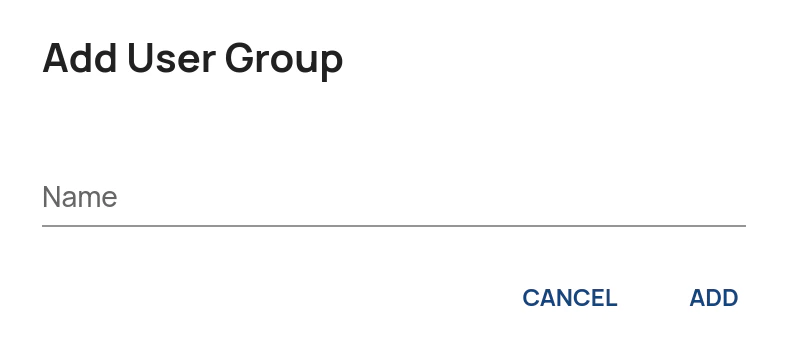
A newly created user group has basic read rights for the whole data room.